
An excellent method to begin gardening earlier in the season is to start plants from seed. Growing from seed to harvest is simple with the proper lighting and some basic tools.
It is advisable to start out small by cultivating a small number of varieties because every plant has different seed-starting needs. Some seedlings, like marigolds and tomatoes, are particularly simple to start indoors. For beginners, basil, zinnia, coleus, nasturtium, and cosmos are also excellent options. If you’re a novice, start with those and work your way up to seedlings like petunias that are more difficult to grow.
1. Right Timing
Having your plants prepared for the outdoors when the weather is good is the aim of seed beginning. The seed package should contain instructions on when to plant seedlings inside, so start there. Typically, it will read something along the lines of, “Plant indoors six to eight weeks before the last frost.”
Beans and squash are two veggies that are best begun outside. Because they germinate and develop rapidly, cultivating them indoors has little advantage. Some blooms, like poppies, do best when put outside as well. Typically, these seeds are labeled “direct sow.”
2. Right Containers
As long as the receptacle is at least 2-3″ deep and has drainage openings, you can plant seedlings in almost any kind of container. Growing seedlings in yogurt containers, milk boxes, or paper vessels may appeal to DIYers. I favor the ease of using containers designed specifically for seed beginnings. The containers are simple to fill, the irrigation system maintains a constant moisture level, and I can transfer them with ease.
3. Potting Soil
Pick seedling-specific planting dirt for your plants. Use new potting soil for your indoor plants rather than outdoor earth. To guarantee healthy, disease-free seeds, start with a brand-new, sterile blend.
Make sure the planting mix is moistened in a pail or box before adding it to your pots. It should be grainy but not gloppy, and it should be damp but not dripping wet. To prevent gaps, fill the receptacles to the top and press the earth tightly.
You should give the seedlings with liquid fertilizer a few weeks after they germinate and continue doing so until you move them into the yard because most mixes contain few if any, minerals.
4. Start Planting
To find out how deep to place your seedlings, check the seed packet. Smaller ones can be scattered directly on the soil’s surface. Larger seeds require burying. I place two seedlings per cell as protection (or pot). In the event that both seedlings sprout, I cut one and let the other developers. Making a few divots in each container to make room for the seedlings is beneficial. You can return and cover the seeds after you have placed a seed in each hole.
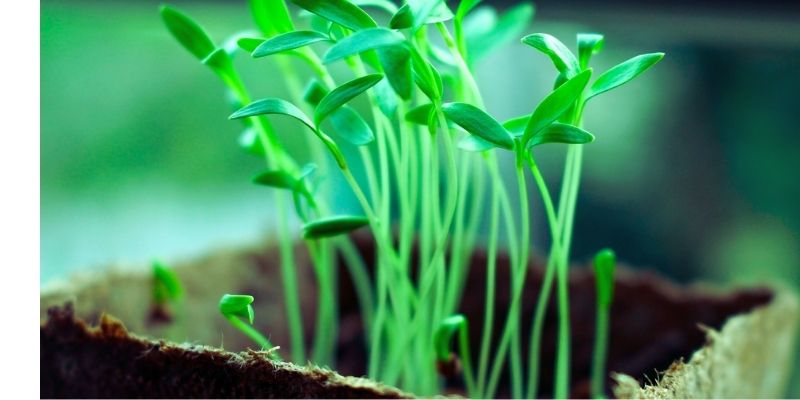
With a mister or a small watering can, moisten the seeds that have just been sown. Cover the pots with plastic wrap or a dome-shaped piece of plastic that goes over the seed-starting tray to hasten germination. In order for the seeds to grow, this keeps them moist. Remove the cover as soon as you notice the first indications of green.
5. Watering, Feeding
To keep the earth wet but not soggy as the plants develop, use a mister or a tiny watering can. In between waterings, let the earth gently dry. To guarantee proper airflow and shield against illness, place a fan. My grow lamps and the fan I use are both on the same schedule. Don’t forget to mix liquid fertilizer at the suggested amount and give the seedlings on a regular basis.
6. Lighting
To grow, plants need light. Choose a south-facing exposure if you’re developing in a window. To prevent plants from leaning into the sun, rotate the pots frequently. Seedlings will grow leggy and weak if they don’t receive enough sun. If you’re using lights to develop your plants, position them so that the tops of the seedlings are just a few inches above the lights. Put the lamps on a 15-hour timer per day. Remember that seedling also require darkness to relax. Increase the lighting as the seedlings get higher.
7. Move seedlings outdoors gradually
Moving your seedlings right from the protected environment of your house into the garden is not a good idea. These seedlings need a slow introduction to the wide outdoors because you’ve been nurturing them for weeks. The action is known as sealing off. Place the seedlings outside for a few hours in a protected area (partly shaded, out of the weather) about a week before you intend to plant them in the garden, and bring them inside at night. Expose them to more and more sunlight and wind over the span of a week or ten days. Plant hardening off is a wonderful idea in a cold frame.
Garden Soil || How To Make It Healthy
Beginning Seeds || Start Gardening Today
Techniques to Extend the Season
Sweet potato Harvesting, Curing, and Storage


8 Comments