For this system, we’re going to look at one of the easy-to-build drip systems. This one uses buckets in which to grow the plants which still receive their nutrient-rich water through a series of tubes. In order to accomplish this design, there are three key areas that we need to build: the buckets, the reservoir, and the tubing. We will look at what it takes to make a single plant setup but we’ll see how easy it is to adapt the system to include more.
Start with your bucket. For our purposes, we’ll begin with a five-gallon bucket but you can increase or decrease the size as necessary. The first thing we do is flip the bucket upside down so that we can get to the bottom easily. We’re looking to get the drain into place so that any water dripped into the system will be recycled back into the reservoir. To do this we will be using a thru-hole fitting. These little guys are used in all sorts of different fields and you can easily pick one up for a dollar or two at any hardware store.
Place the thru hole on the bottom of the bucket, thread side making contact, and trace around it. This should give you a small little circle on the bottom of your buckets. We want this circle to be closer to the edge than to the middle, as we want our bucket to be able to sit comfortably on an elevated surface. With that in place, cut out the circle you have traced and insert the thru hole into the bucket. Tighten the thru a hole in place. Your bucket now has a drain installed. Take a filter of some sort, which can be a furnace filter or any kind really, and cut enough out to place over the thru hole inside the bucket. This helps to keep only water draining and not our growing medium.
Now before we move on to the next step, we should paint our buckets. We can double up this task and paint our reservoirs at the same time. Use black paint on the outside of the bucket in order to block light from entering which would lead to algae growth. With the buckets painted black, they are going to attract a lot of heat which would raise the temperature of our water and could prove to be a real pain in the long run. For this reason, it is suggested that you use a coat or two of white paint over the black paint so as to reflect the light rather than absorb it.
We’re going to do a similar design when it comes to our reservoir but the key difference is the hole we cut will be at the top and not at the bottom. Having painted the reservoir black and then white, we will cut a hole in the top of it through which we can feed the cording for our pump and for the hoses. That’s all that the reservoir takes.
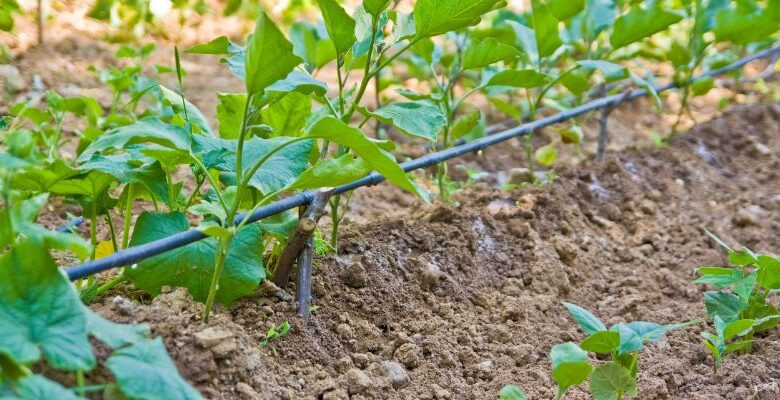
But in order to make this work from here, we need to connect them using tubing. Connect the tube to the hose and feed it up to the bucket. You can use glue, tape, or whatever method you prefer in order to keep the tube in place to feed your plants. One effective way is to create a loop that sits inside the inside of the bucket, poke a ton of little holes in it and then connect that tube to your main tube. That way water would flow up through the main tube, connect to the inner bucket tube and it would work like a mini sprinkler system. This way makes sure that the water is spread around the bucket and not confined to a single area.
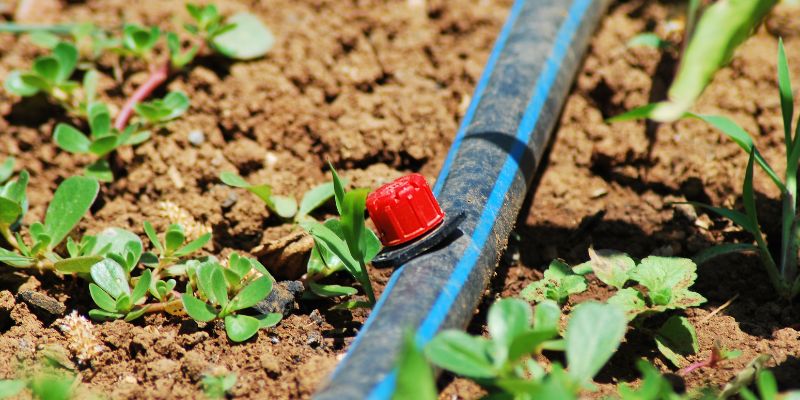
With the feeder tube in place, we then need to attach the draining tube. This is as easy as hooking our tubing up to the thru-hole we inserted and running it back down into the reservoir. It is important that we keep our grow bucket elevated above the reservoir so that gravity can do its trick.
In order to make sure that we aren’t drowning our plants, it’s important that we get a digital timer and hook it up so that we aren’t pumping water at all times. We’ll want to get a timer that allows us to set many different times rather than just one time because we want our system to turn off and on several times a day rather than just once. We need to do this in order to make sure that our plants are getting the right amount of nutrients.
So that is how you set up a single-bucket drip system. If you want to expand the system, it is actually very easy. Let’s say that you wanted to do four buckets instead of just one. You take those buckets and you give them their thru-holes and a paint job all the same. The major difference between running a single-bucket setup and a four-bucket setup is the tubing. Rather than running a single tube from our reservoir to our bucket, we are going to instead use T-connectors.
Take the tubing that runs out of the reservoir and connect it to a T-connector. This will give you a tube that looks like a T-corner as we see on the roads. Instead of being a single tube with one end, you now have two tubes each with its own ending. This would allow us to use a two-bucket setup. However, we choose a four-bucket setup for this example. This means that we have to take each of those tubes and again run them into a T-connector. Now each side gets split into two and we have four ends, one for each of our buckets and we have quadrupled the size of our growing operation.
With all the buildings in place, we then just have to pack in our buckets. Some rocks at the bottom of each bucket can serve to help weigh them down but it’s not absolutely needed. This is more a precaution, though it is one that is recommended. Over the rocks, you pack in your growing medium and then you get your plants in there.
And there you have it, your very own hydroponic drip system.